This lesson was about working back into a couple of our recent prints, and adding different media to finish off/complete the pieces. We have previously worked back into pieces with mixed media and this lesson had the same purpose. I was really looking forward to working into my basic lined mono prints and my positive prints. I only chose 3 of my prints to work into. This is because I could only find 3 that I didn’t mind adding media to because I liked a lot of the others as they were.
We had a range of media to work with, such as;
- Felt tip pens
- Colouring pencils
- Ink
- Paint
- Thread
- Collage
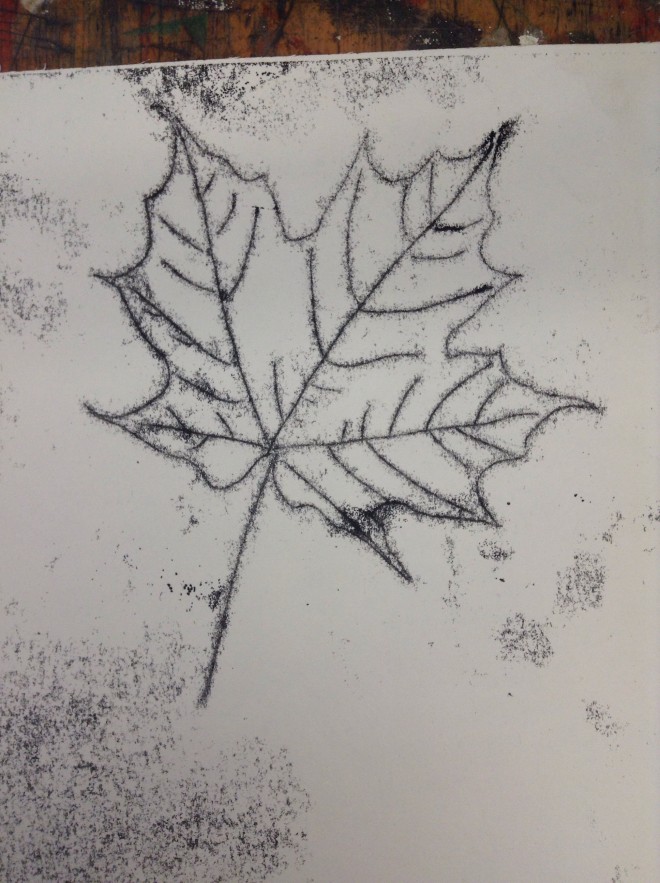
I started out by adding basic brown coloured pencil to a simple outline of a leaf which was created as a mono print. I chose to use brown pencil because I wanted to create a typical leaf, as I didn’t have many ideas to start with. Here is that print before and after the media was applied:
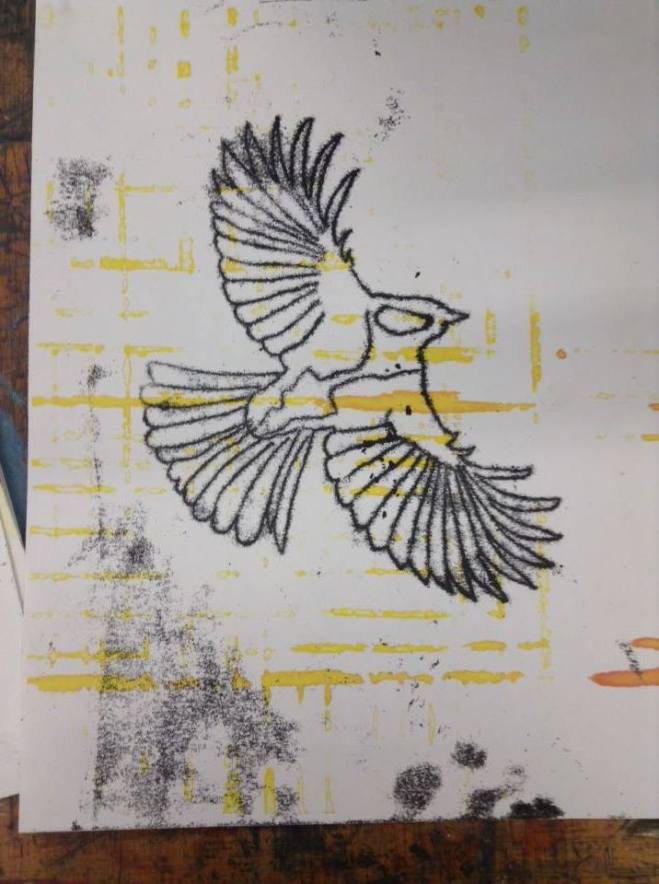
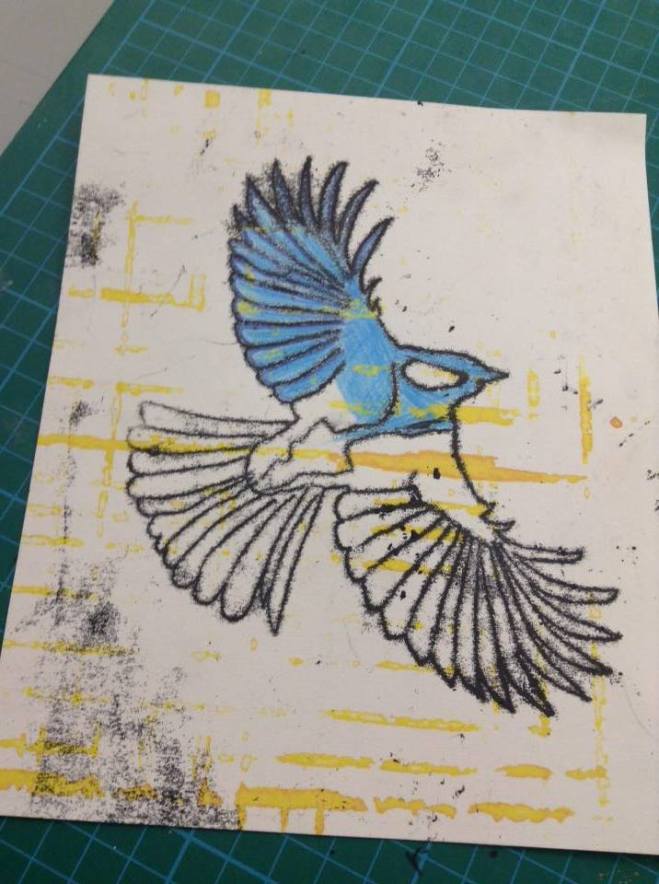
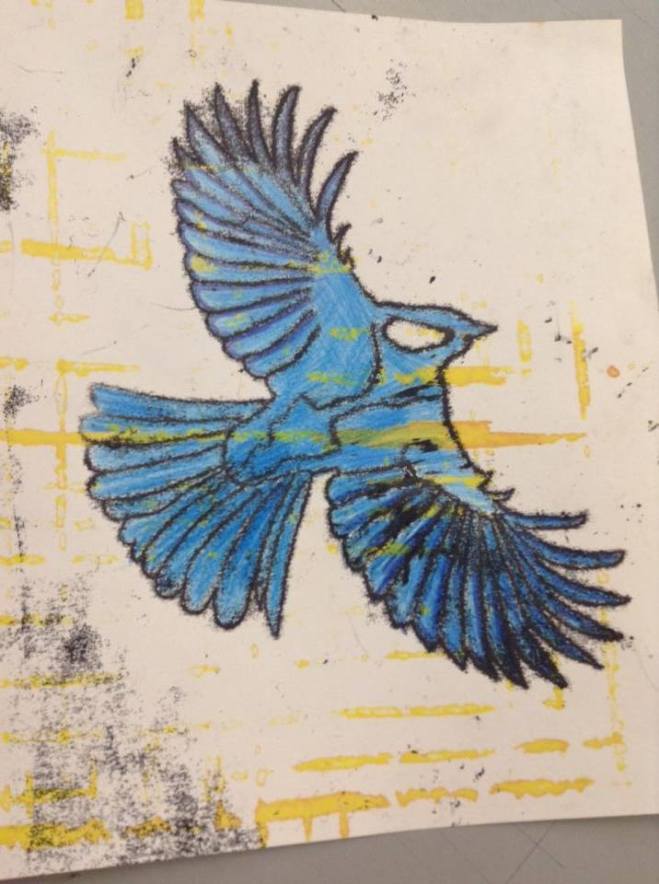
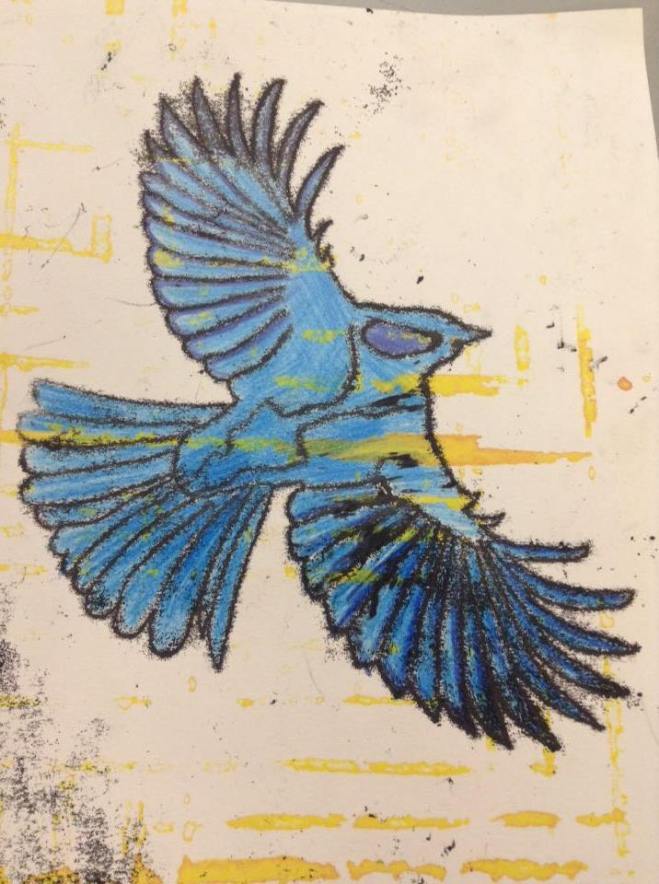
After the mono print leaf, I then chose to use the same process of colouring in another simple lined mono print of a bird. I chose to colour it in blue because I thought the blue would contrast well with the yellow streaks in the background. I used both light and dark blue pencils, this is because I wanted to create a little bit of darker shades in the wing and tail feathers. Again, I only used a pencil and no other media for this because I didn’t think it needed many alterations except some colour.
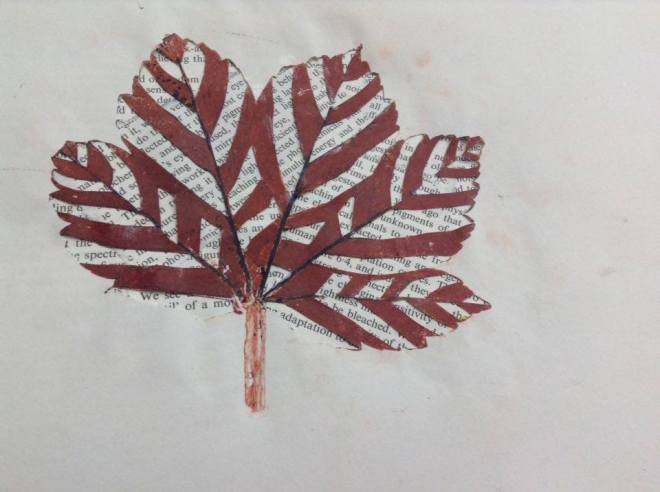
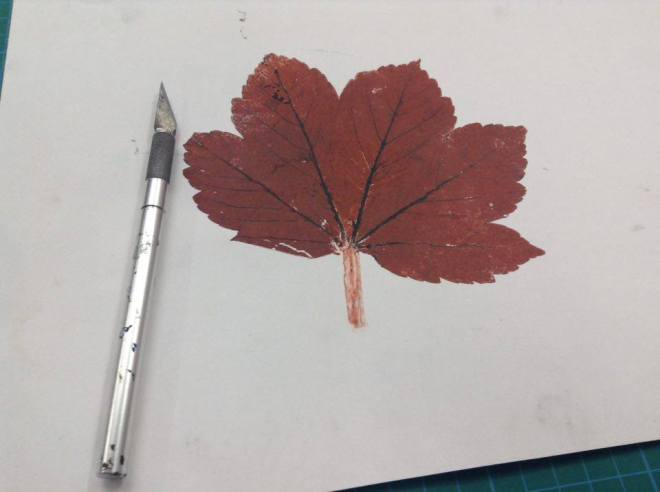
Next, I chose the brown leaf positive print. I decided I wanted to do something other than colouring it in, so I chose a print which I knew I would have to cut out. For this I had to collect specific equipment.
- Cutting mat
- Scalpel
To use the scalpel, permission had to be requested of either of the tutors in the room, as they had to be aware that I was using one. Along with this, the tutor also had to make sure I knew how to handle and use a scalpel.
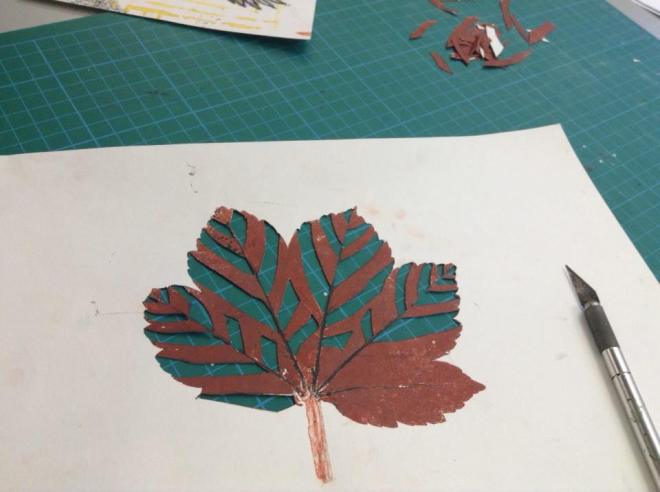
After some discussion with my tutor, I decided I wanted to cut out every other section of the leaf, therefore having a alternating pattern at the end. Here is the piece as it developed:
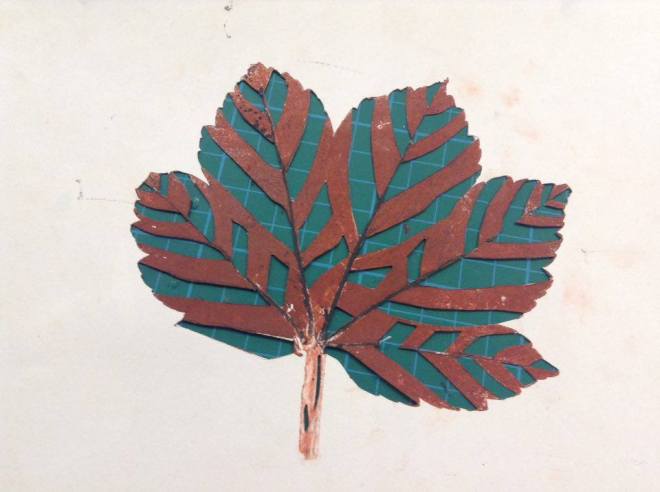
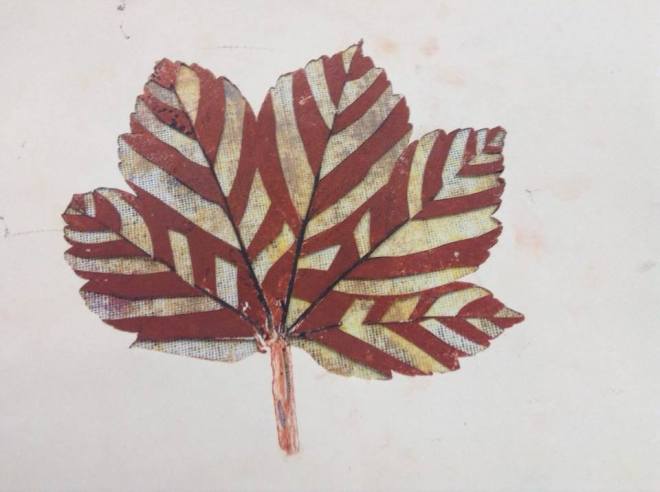
After it was cut out, I then wanted to find a background which I could add behind the piece. I found a variety of backgrounds and looked at each one, however I didn’t think any of them looked good enough. Here are 3 different backgrounds I looked at:
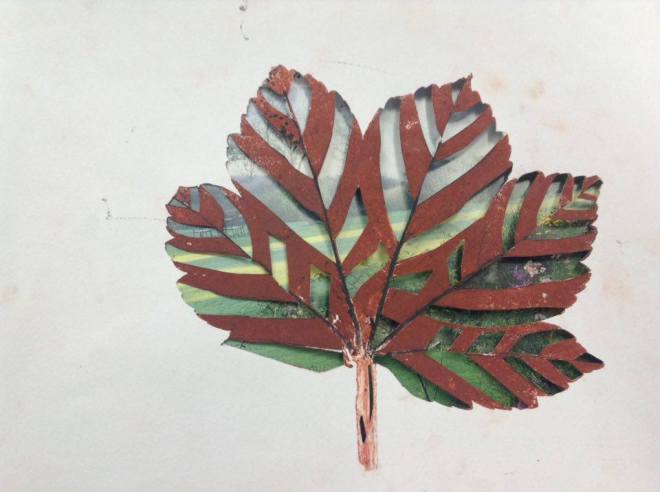
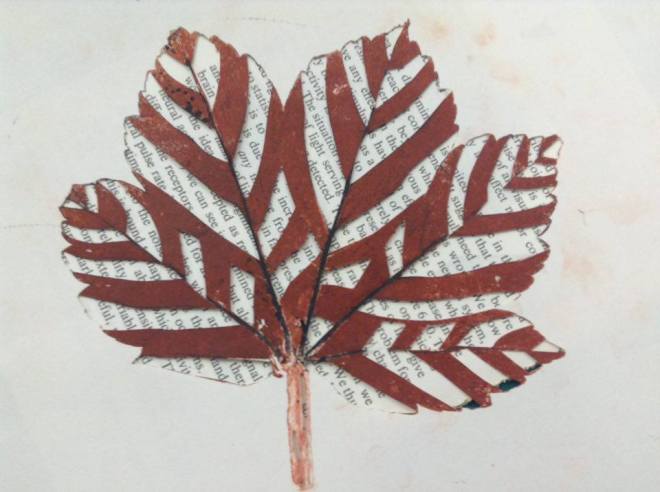
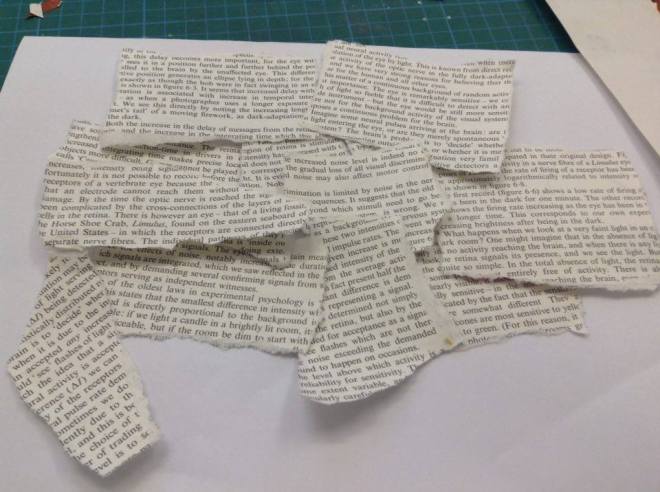
After I put the piece on top of a book page, I decided I really liked the look of it so I decided that would be the background I was going to chose. However I then couldn’t decide whether to tear up pieces of book pages then stick it down, or simply stick it onto a page. I placed the piece on top of both torn backgrounds and just a page, and I decided I wanted to put it onto the torn background. This is because I thought the torn background looked less organised, which even though nature is beautiful, it isn’t always perfectly straight and organised. I chose to put writing as the background because I thought it just gave the piece a better look than something like a floral background would. This is the background before it was stuck down:
This is the final piece. I really like how this piece turned out as it has kept a natural kind of look, yet seems a quirky. I also really like working using layers, therefore I am fond of this piece.